Following the success of LEGO Builder’s Journey in 2021, Light Brick Studio returns with LEGO Voyagers, another charming and visually stunning co-op adventure. This time, two LEGO bricks embark on a voyage through forests, deserts, and massive factories, solving puzzles together along the way.
With more than 30 chapters, here’s the complete LEGO Voyagers walkthrough to help you whenever you get stuck.
Chapter 1
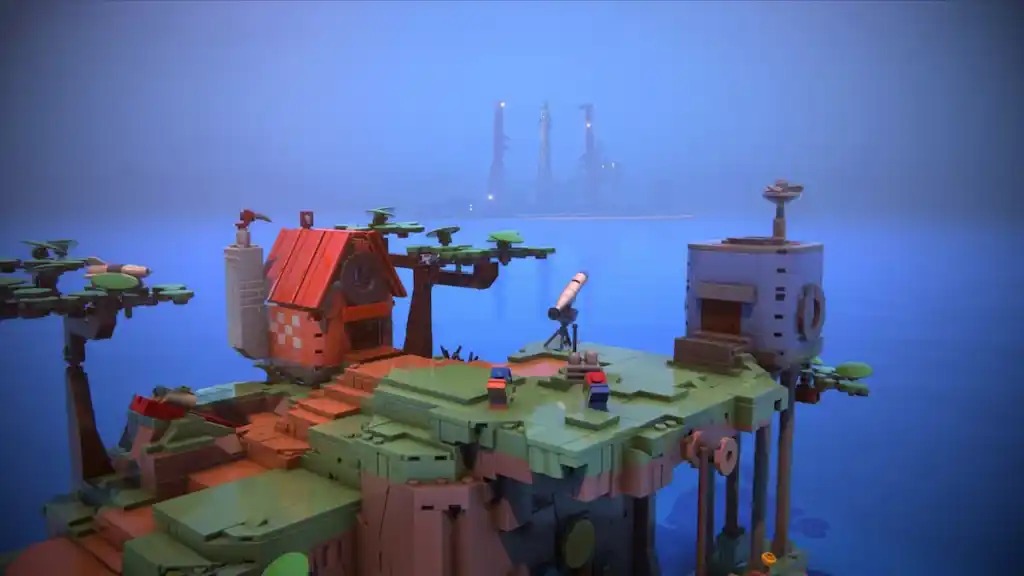
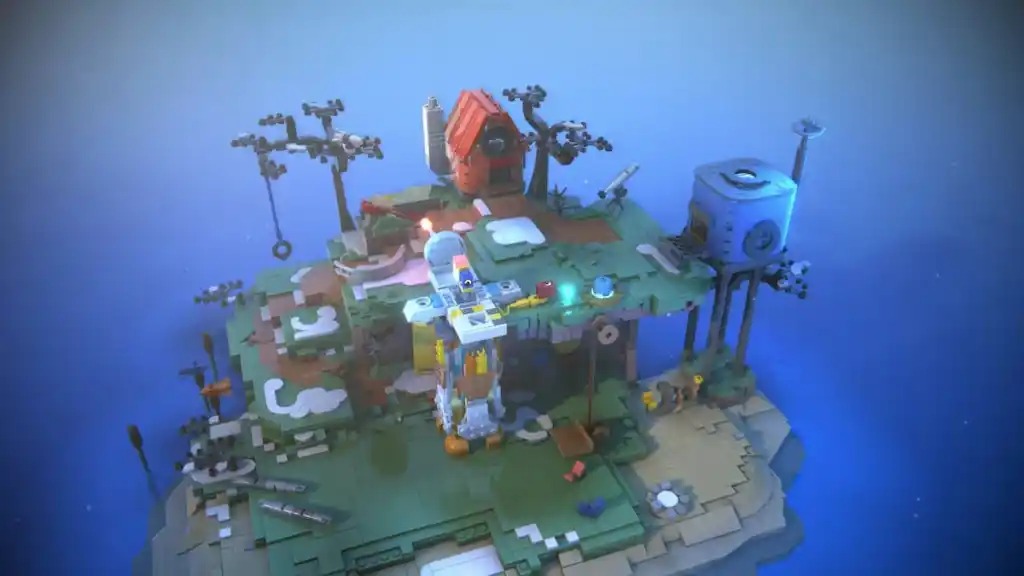
The first chapter has no puzzles. It serves as a tutorial where you learn the basic controls, such as moving around and attaching to objects. Explore your island, then return to your cabin. After resting, sit in the chairs to trigger the cutscene that kicks off your journey.
Chapter 2
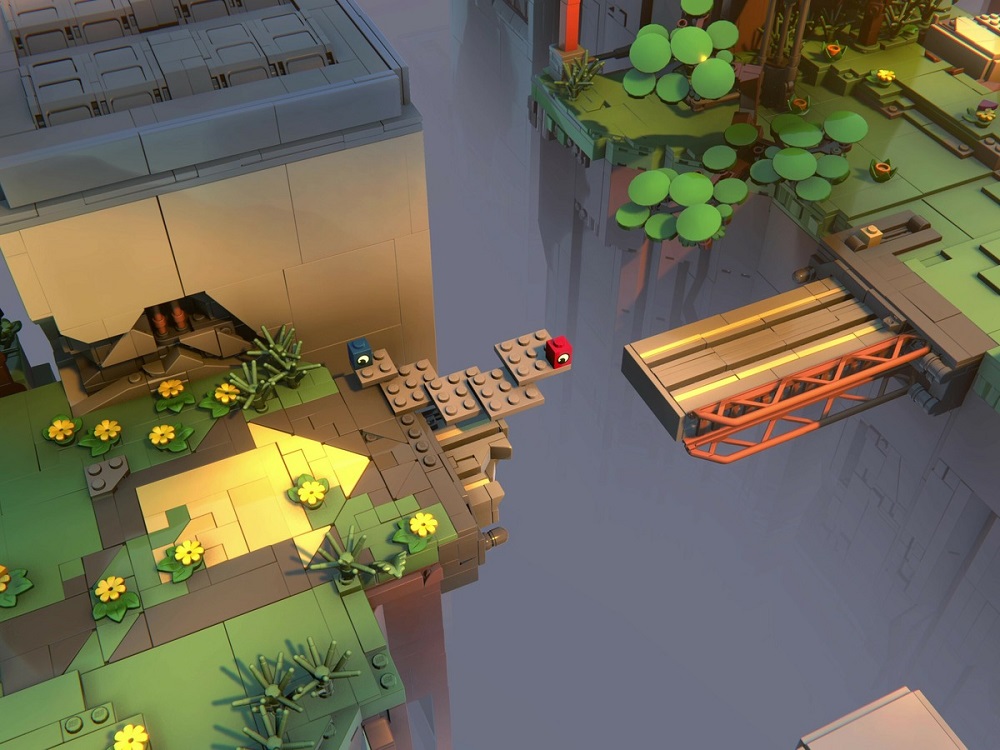
Here, you’ll learn the basics of connecting bricks to create paths. Press B/Circle to attach to a brick, then press again to snap it in place. You can chain bricks together in this way. If a brick is separate from the environment, it can usually be combined.
Tip: Use the snap function (B/Circle) to move around faster and more efficiently.
Chapter 3
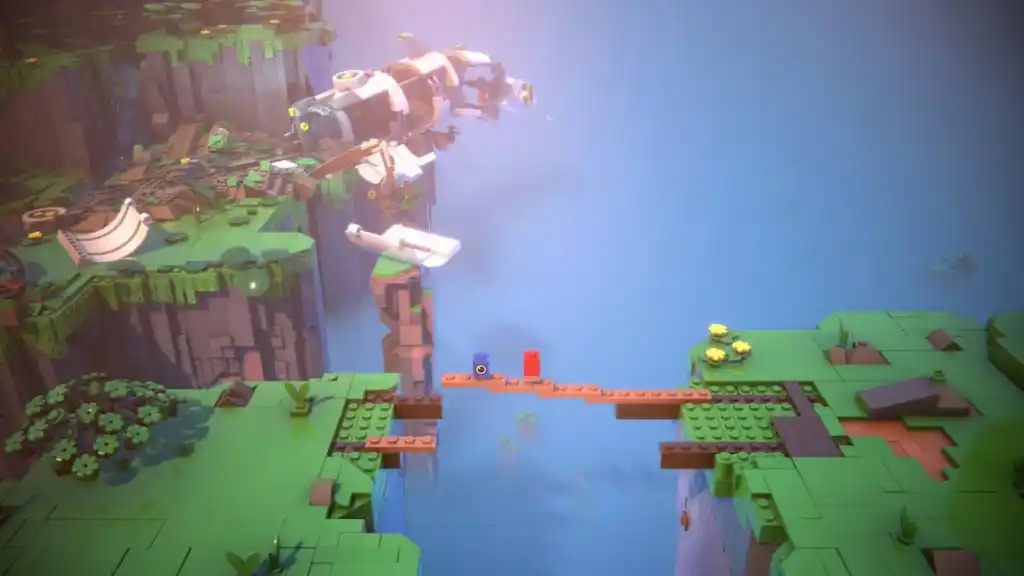
The puzzle mechanic from Chapter 2 continues, with you building paths between platforms. You’ll also interact with parts of a rocket wreck, eventually toppling its tip in a humorous cutscene.
Chapter 4

At the start, pull on a yellow brick to lower structures and create paths (you’ll repeat this twice here). Later, you’ll build a path with thicker bricks and dismantle another structure. Toward the end, team up with your partner to swing across a gap by combining your weight.
Chapter 5
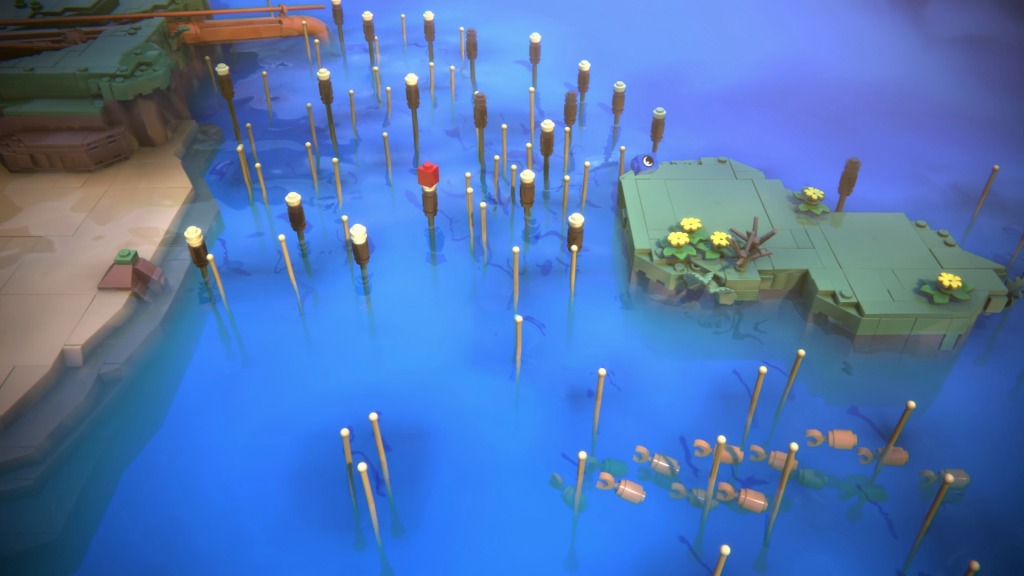
A short, simple chapter. After sliding down rails, use the tall stick-like platforms to cross a water area. Snap with B/Circle to make it easier to jump between points.
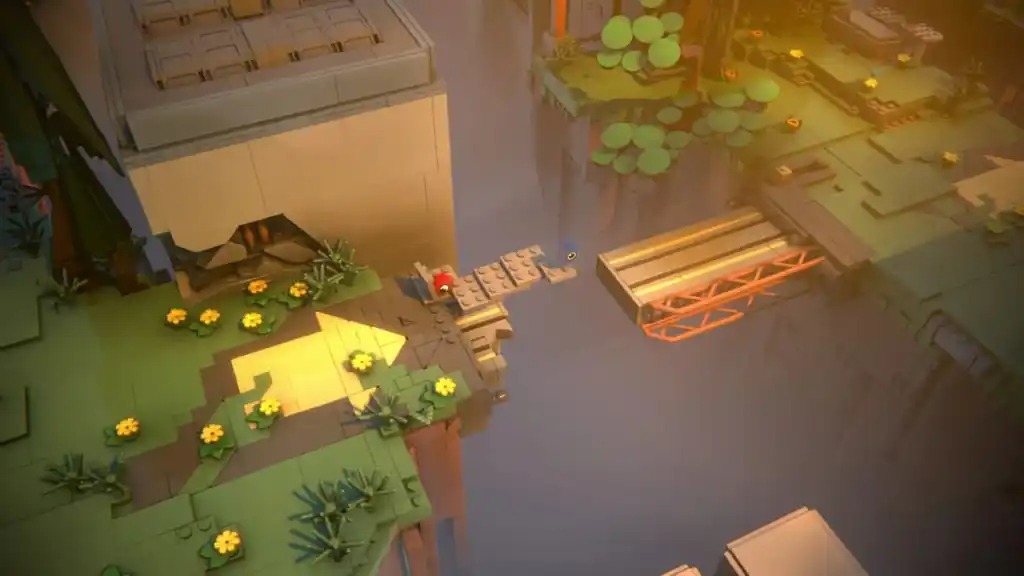
Chapter 6

Shake purple bricks loose from a tree, then use them to build a long structure to climb the first obstacle. Later, you’ll gather bricks from a broken bridge to rebuild a crossing. The rest is light platforming.
Chapter 7
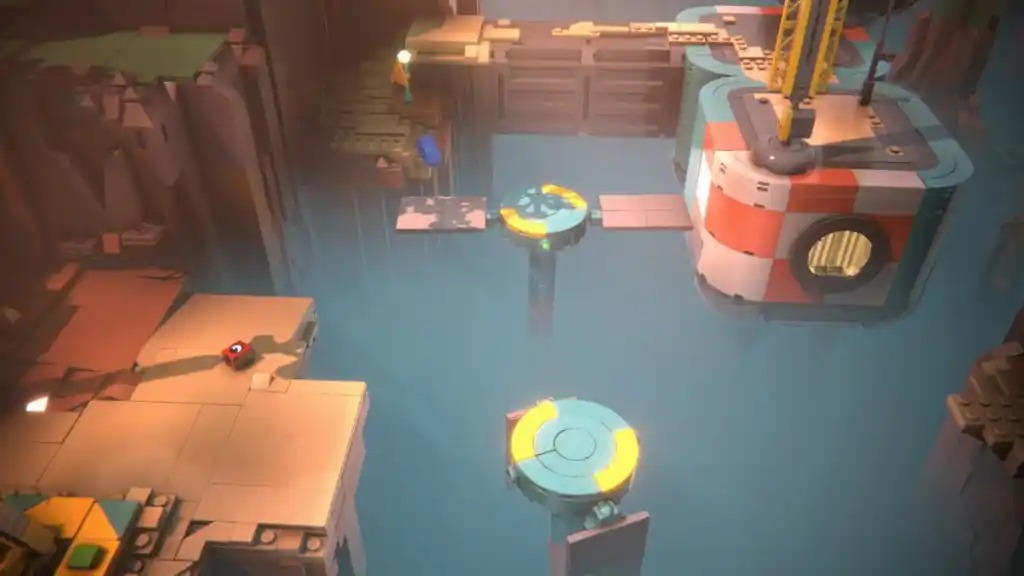
Yellow round plates can turn mechanisms. Use them to flip platforms and open paths for your partner—or even to launch them across gaps. Stand on white markings when using propelling platforms.
Chapter 8
This chapter introduces weight distribution. One player gathers bricks while the other controls the platform. Use the bricks to lower platforms and move forward. You’ll also learn that attaching bricks to yellow mechanisms can lock them in place, keeping platforms steady.
Chapter 9
Pull switches to extend platforms and launch each other forward. Collect loose bricks along the way; you’ll need them in the next chapter.
Chapter 10
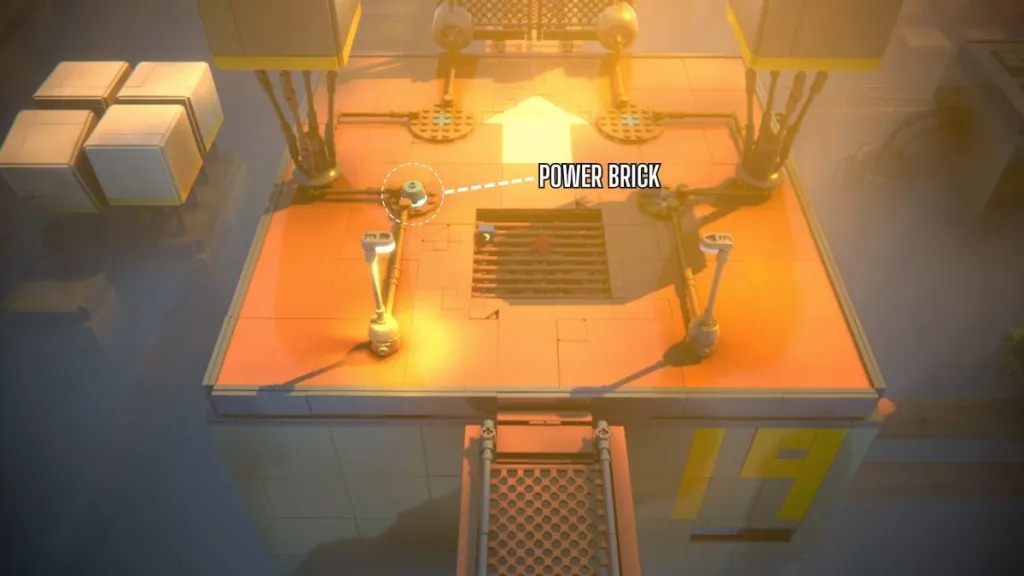
Power Bricks appear here. Place them in slots to open gates. Bring the extra bricks from Chapter 9 to hold yellow switches in place, lowering platforms so you can reach additional Power Bricks. Use them to power up gates and continue.
Chapter 11
Mostly simple platforming: building paths, using weight to move objects, and swinging across.
Chapter 12

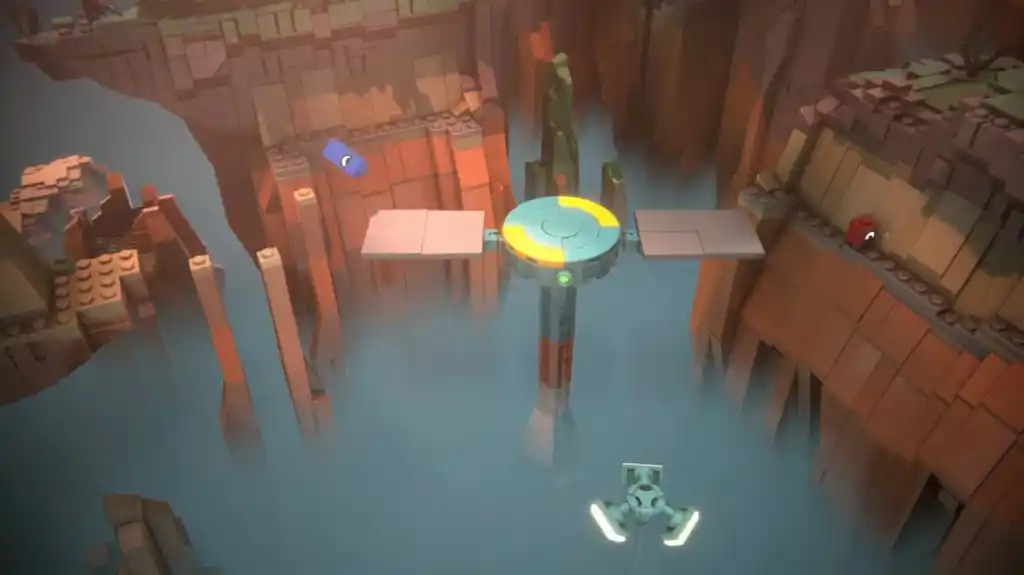
Control a satellite dish with yellow bricks—one adjusts height, the other rotates it. Position it to lower the bridge. Later, solve another Power Brick gate puzzle by using nearby bricks to hold switches and build return paths.
Chapter 13
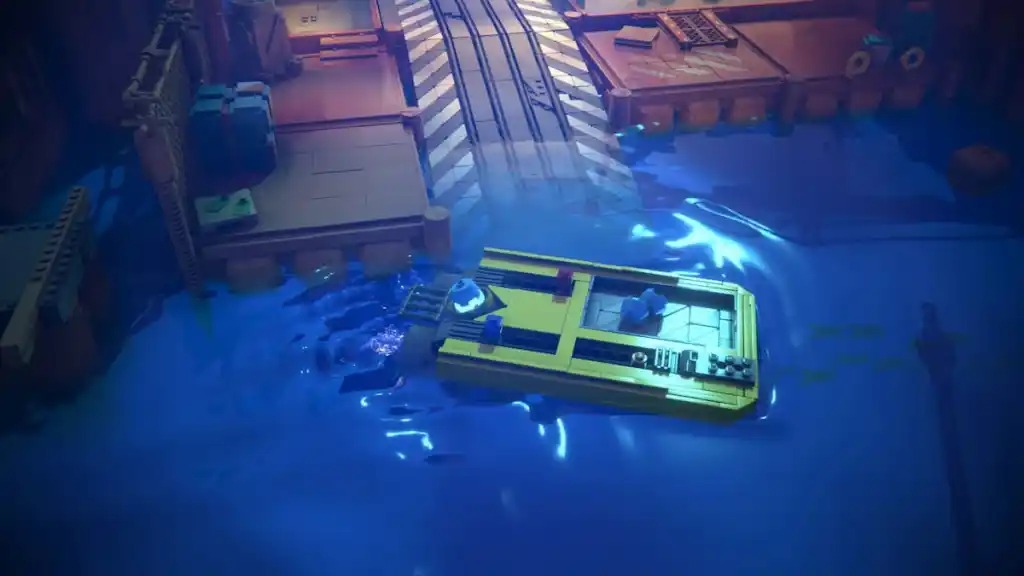
You unlock the boat! Both players control it together:
- Both forward = move ahead
- Both back = reverse
- Left thrust only = turn right
- Right thrust only = turn left
Collect bricks from buoys, then build a structure to reach a switch and open the gate.
Chapter 14
Gather Power Bricks from platforms. Use smaller bricks to hold switches in place, then build paths to collect more Power Bricks before returning to the boat.
Chapter 15
Install three Power Bricks (including one from your boat) to complete the circuit. Push the switches to extend the platform and continue.
Chapter 16
A mostly narrative-driven chapter where you build your rocket. Place the blue brick inside and the red one on the yellow chair. No puzzles here.
Chapter 17
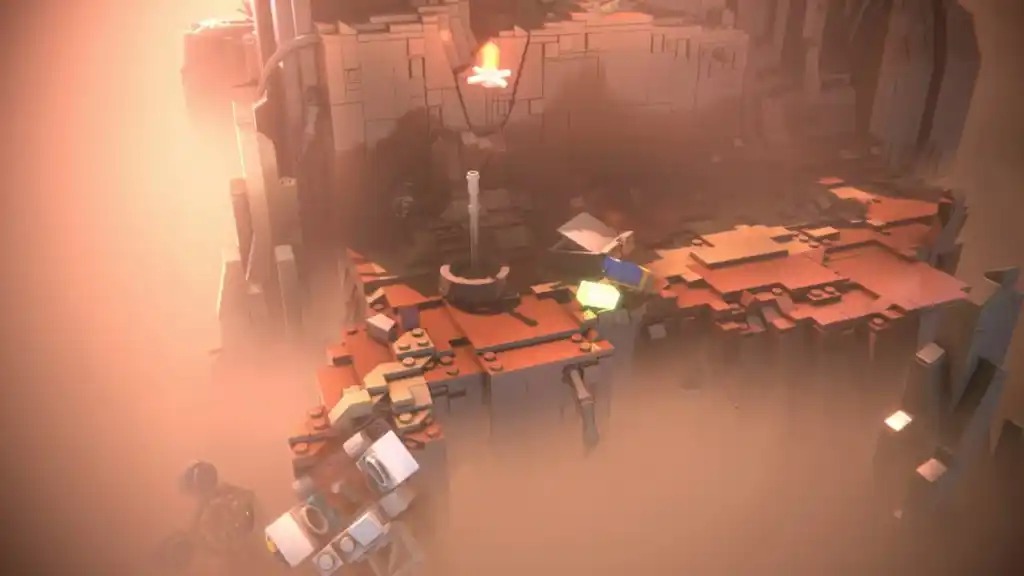
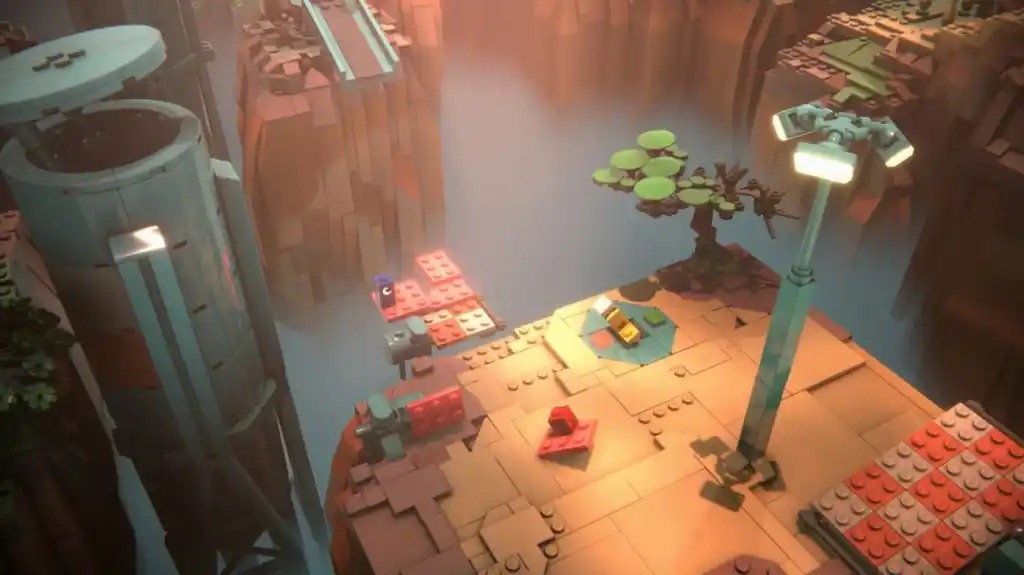
Arriving in the desert, the blue brick is now taller. Use this height to charge a drone, which clears rocks. Afterward, topple a formation to free loose bricks and build a path forward.
Chapter 18
Some switches require the taller blue brick. Flip one to open the gate, then progress with simple platforming.
Chapter 19
Solve a puzzle by rotating platforms and lowering structures. Use the blue brick to activate a switch, then both players can cross.
Chapter 20
A straightforward series of platforming sections.
Chapter 21
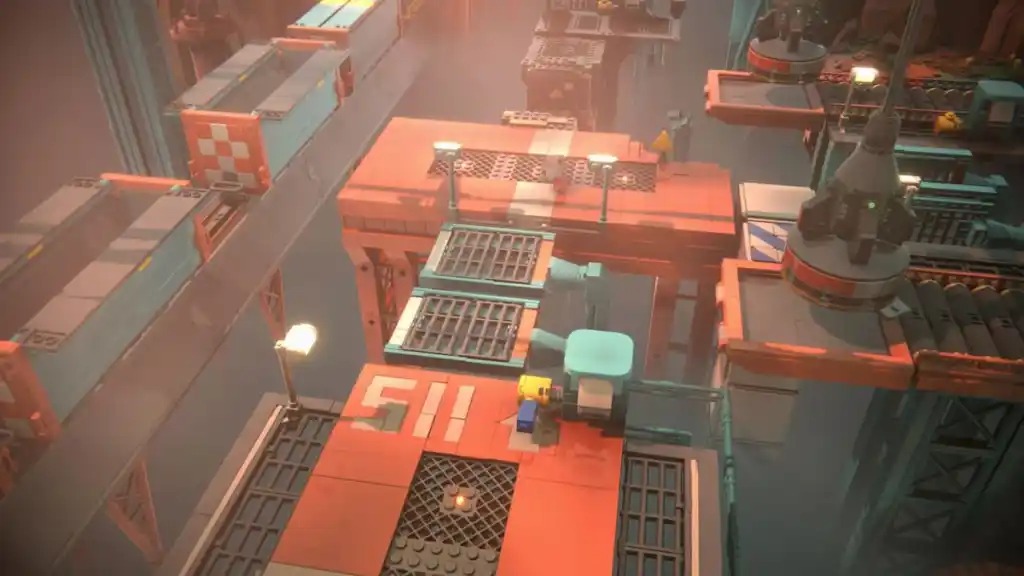
Set a yellow switch with a brick to create a platform. Flip the switch to drop bricks, catch them on your platform, and build a path to the higher area.
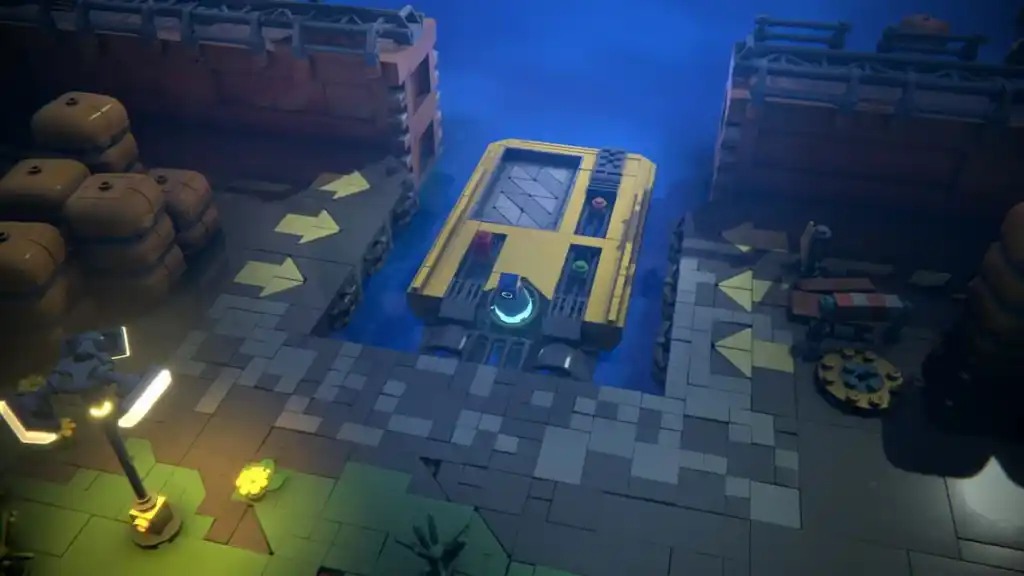
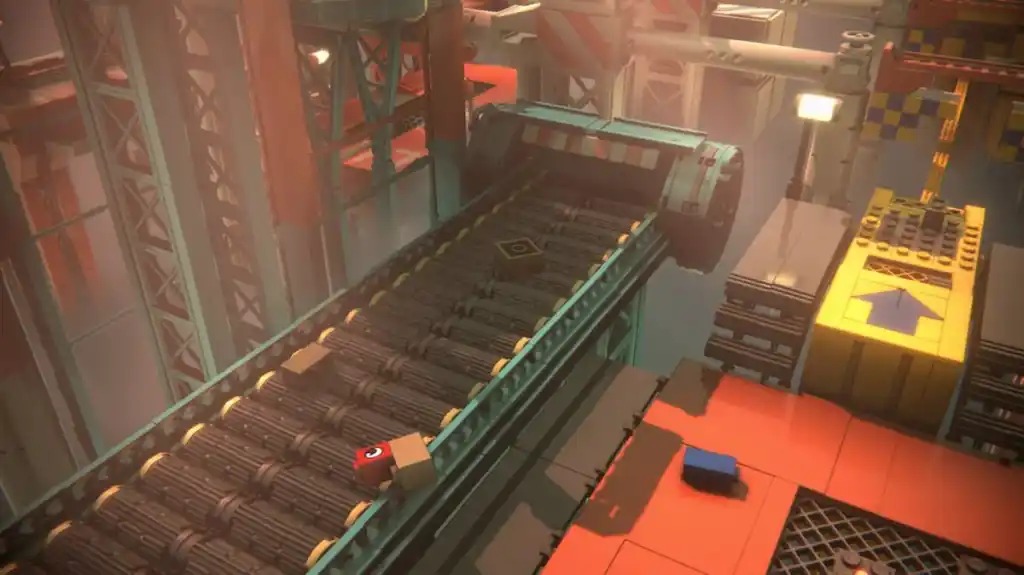
Chapter 22
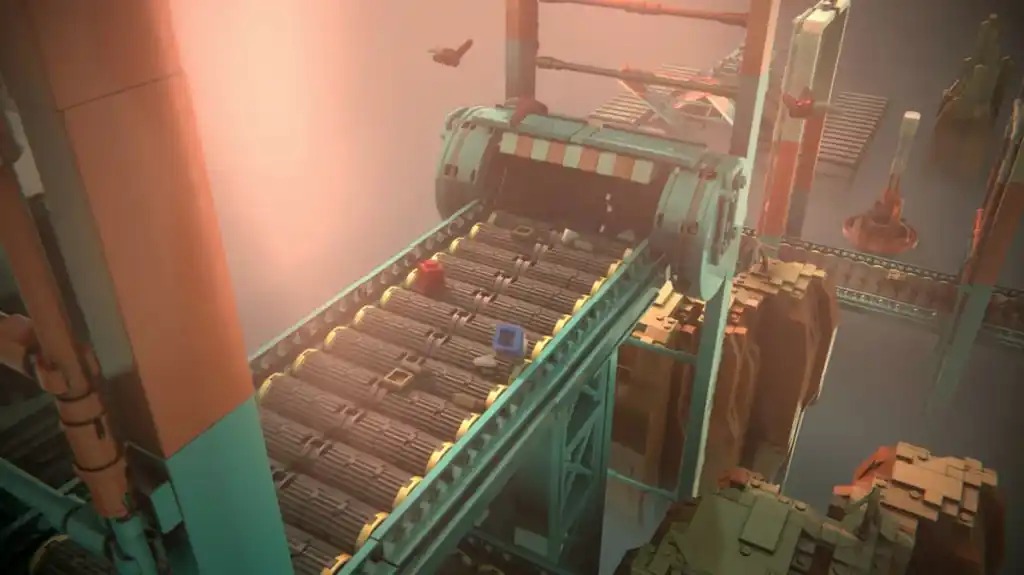
Navigate conveyor belts while avoiding crushers, which destroy usable bricks. Disable the crusher with a switch (blue brick required), then gather intact bricks to build your path forward.
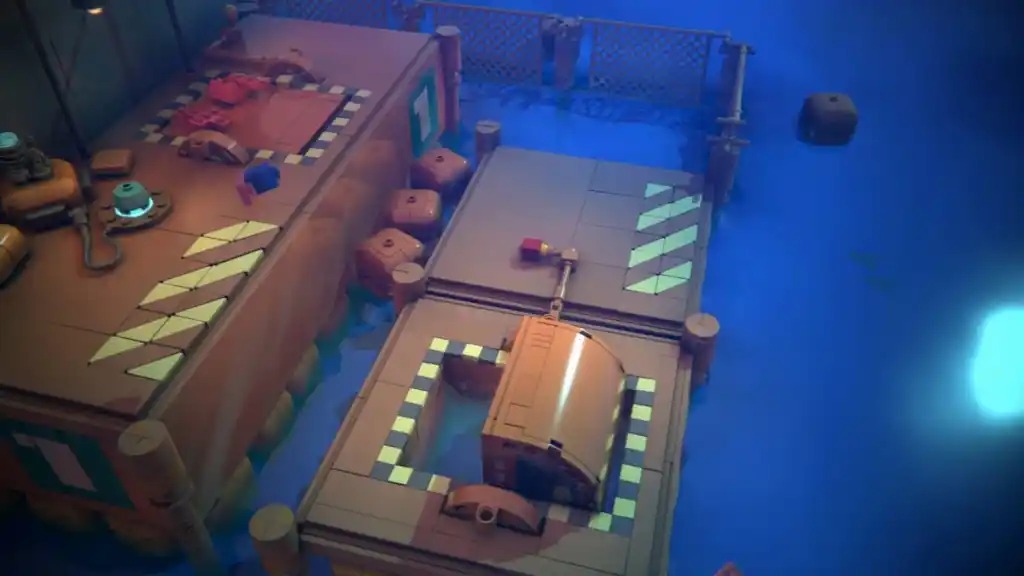
Chapter 23
Create a structure on a movable platform to bypass obstacles. One player controls the switch to move it, while the other crosses and activates the next switch so both can progress.
Chapter 24
Adjust a conveyor belt’s speed with the yellow switch. Ride it to the other side, activate a platform for your partner, then grab a Power Brick and use it to open the gate. Some light platforming follows.
Chapter 25
A tricky puzzle involving metallic and regular bricks on conveyor belts. Use the magnet to carry metallic bricks—and a player—across platforms. Mix in loose bricks, then activate the bridge so both players can cross. Build a path forward with the extra bricks.
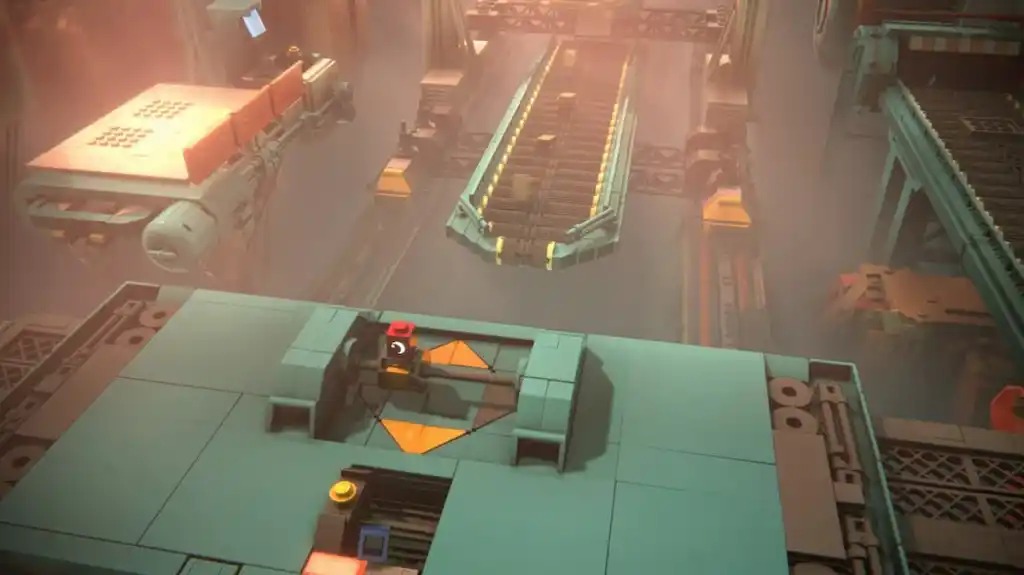
Chapter 26
This chapter begins with platforming before introducing a puzzle with four platforms controlled by a switch. Each flip changes their orientation after three green blinks.
The simplest way to track the orientation switch is by counting the blinks—after three blinks, jump!
Chapter 27
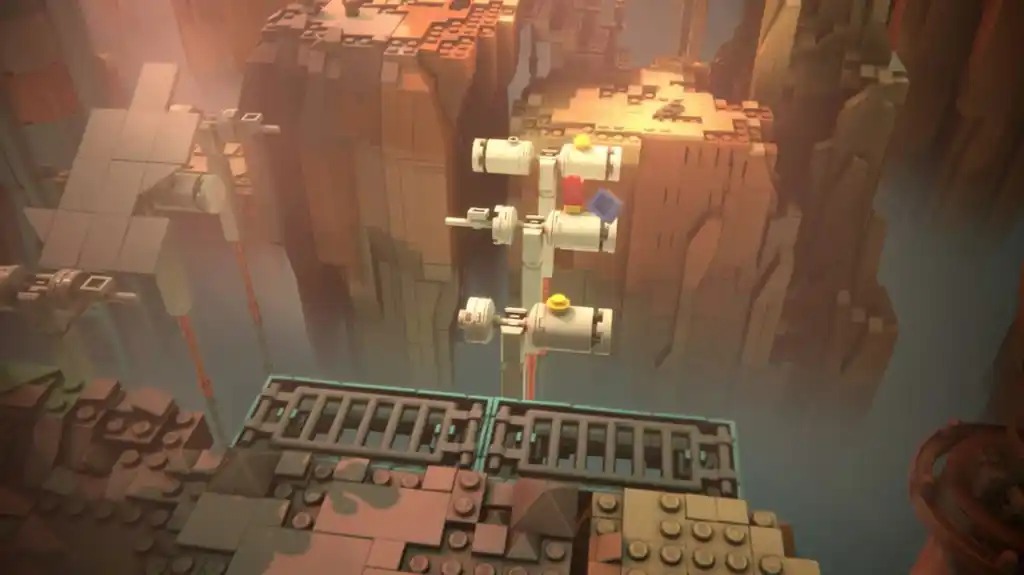
Start by lowering the switch so one player can move past the lowered platforms.
Pick up a brick from ahead and wedge it into the switch so both players can continue.
From the conveyor belt at the bottom right, grab a metallic brick and carry it near the upper platform where the swinging magnet claw passes by. Both players should latch onto the metallic brick and let the magnet carry them from left to right until you reach the conveyor belt at the top right. Be sure the magnet is approaching from the left.
Once you’re on the conveyor belt, head back down to the first conveyor with metallic parts. Use another loose brick to wedge the switch so both players can move forward.
Next, collect several loose bricks and return to the central platform with the swinging magnet. Use those bricks to build a path ahead. Wedge one final brick into the next switch, and that completes the chapter.
Chapter 28
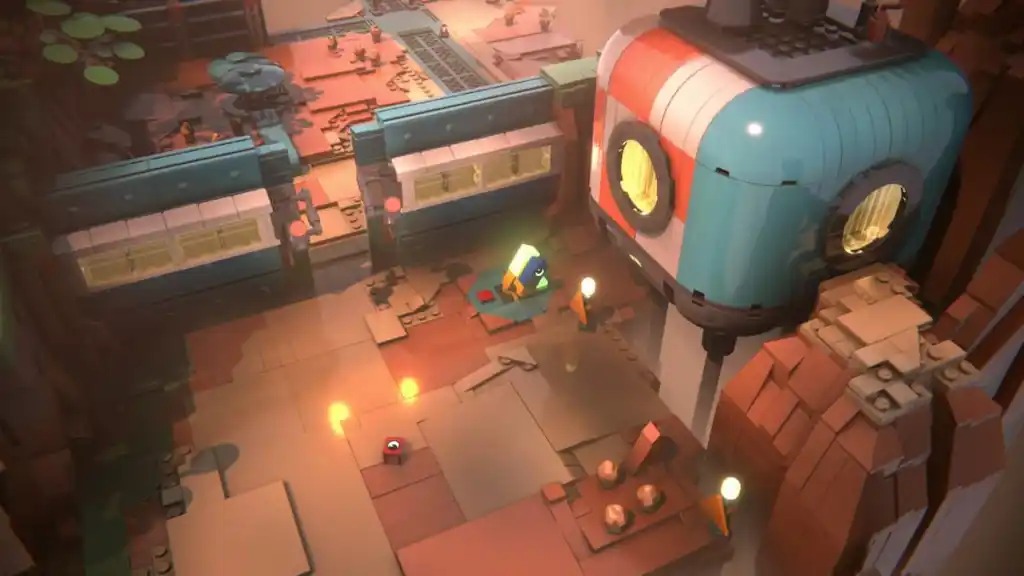
Jump onto the train and enjoy a short ride.
Chapters 29 and 30
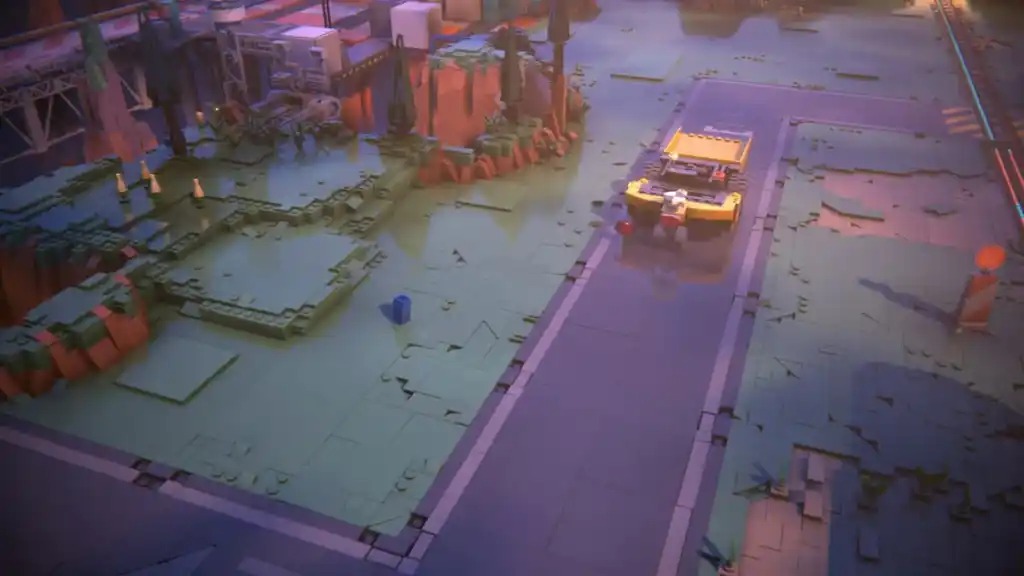
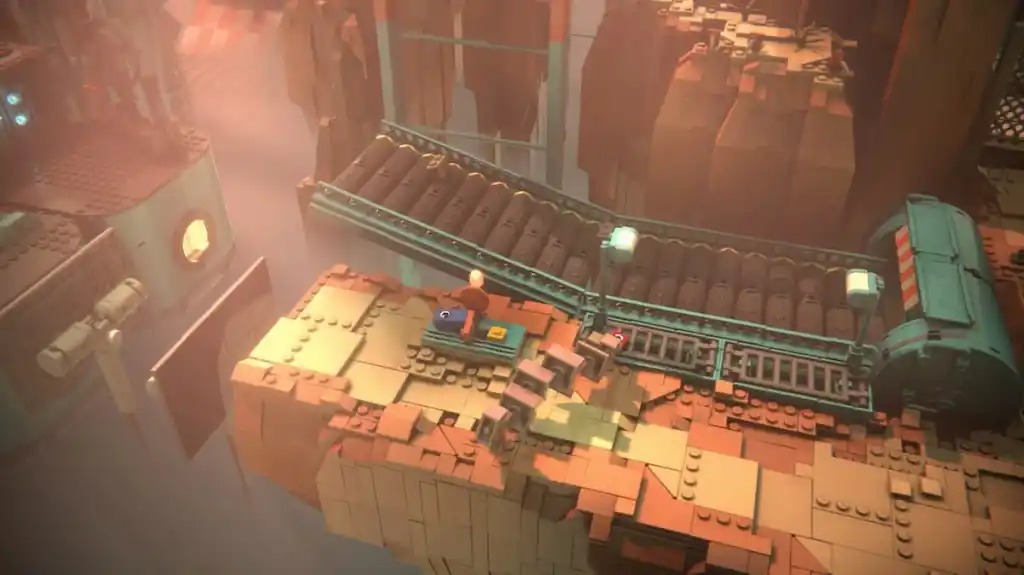
Here, you’ll come across a vehicle with controls similar to the boat earlier in the game—but worse. My advice: skip it completely, as this section can be done without using the machine at all.
This area is long but straightforward. A machine transforms clay-colored bricks into rail pieces needed to repair the train track. Collect the clay bricks from the mining belts, feed them into the machine on the west side, and retrieve the rail pieces that come out the other end. Take them back to the track to fix it. Once repaired, jump on the platforms to the left and reboard the train.
Chapters 31 and 32
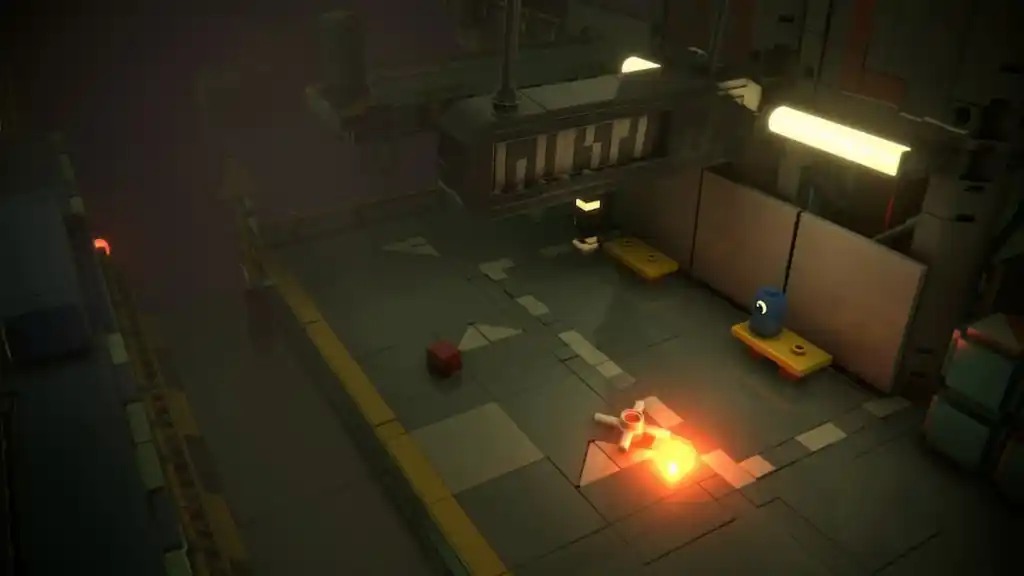
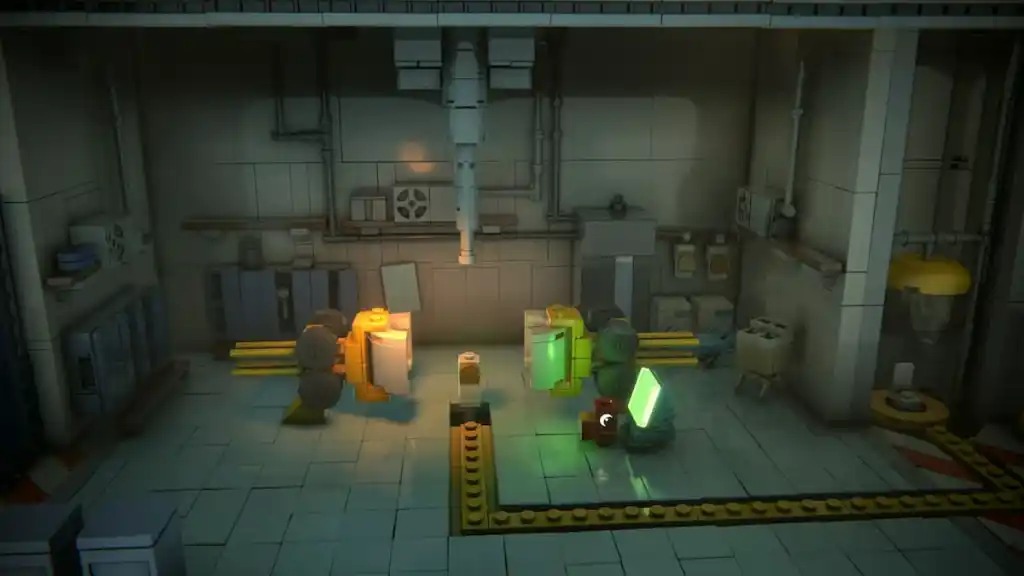
After the train ride ends, the drone is destroyed, but you’ll gain its light component. Equip this to navigate the dark area by following the green lights.
The rest of this section involves exploring with light, interacting with rocket-related machines, and using elevators. There are no real puzzles here—you’ll just be designing the rocket, so take your time.
Chapter 33
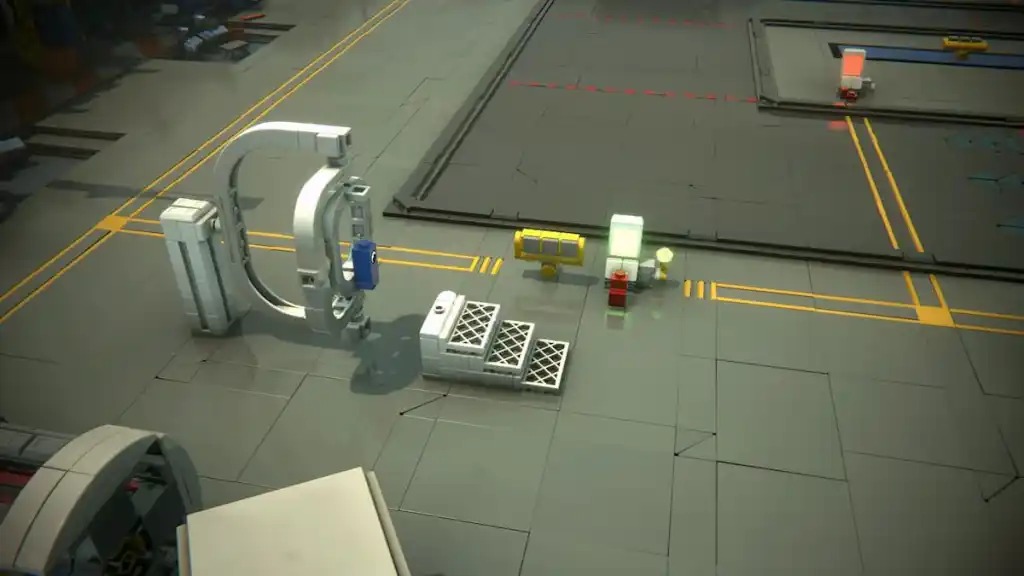
This chapter introduces a major difficulty spike with a training facility where you must complete six tests in any order.
Test 1: The red character sits in the operating chair while the blue character is tested inside a spinning machine. Wait until all lights turn green.
Test 2: Activate the timer in the center, then ride the small vehicle together and cross three red lines. One player controls forward thrust, while the other handles sideways thrust.
Test 3: The toughest test. One player manages the rocket’s thrusters while the other controls direction. The goal is to land on each platform without crashing. Thrust upward, then slowly descend while adjusting direction. It will take practice.
Test 4: Use loose bricks to build a pathway over water for the blue character. Once they reach the end, they must re-enter the rocket. Warning: If the blue character falls out of the rocket during this test, you’ll need to restart the checkpoint due to a bug.
Test 5: On the far left, hold down a switch and release it to propel the blue character upward. Repeat this three times.
Test 6: Build a simple structure with loose bricks to keep the blue character from falling off the chair while a large fan blows.
Complete all six tests to move forward.
Chapter 34
The blue character suits up and prepares for space travel. Straightforward section.
Chapter 35
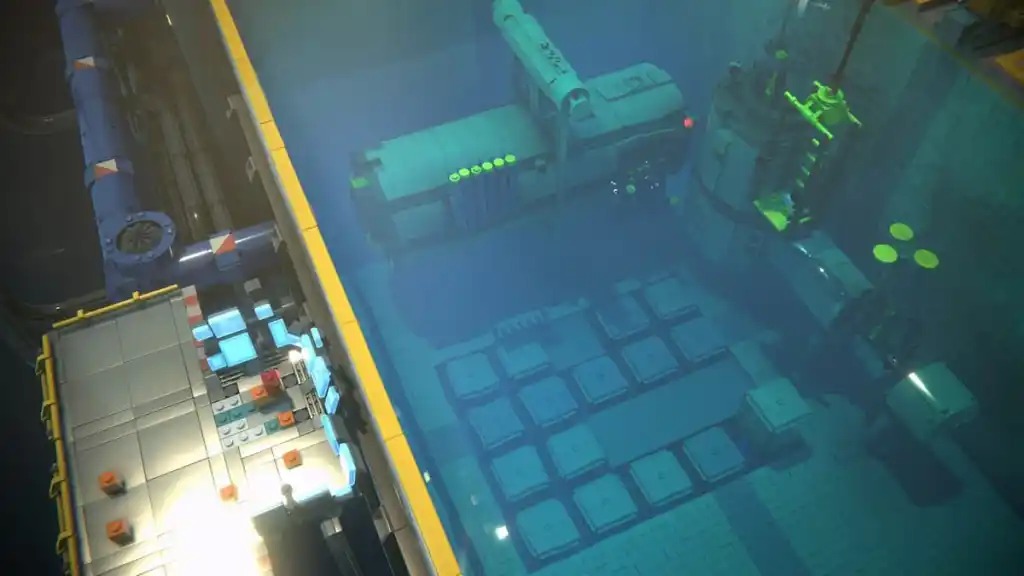
Repair rocket parts submerged in water. Look for air bubbles to find damaged parts. The red player creates paths using platforms, while the blue character performs the repairs. Elevated paths make jumping and reaching repairs easier.
Chapters 36 and 37
The final two chapters are story-focused with no puzzles.
That concludes the Lego Voyagers walkthrough—a creative co-op adventure filled with clever puzzles that reward teamwork without overwhelming players.